Subdivide Select New

This tutorial was auto-generated by Funkworks.
Subdivide a face, edge loop, or face ring and have only the new vertices and edges selected — ready for the next operator.
The Problem
Blender’s Subdivide keeps the original selection alive. Run it on a face and the new midpoint vertices and inner edges land on top of every vertex, edge, and face you already had. If your next move is to bevel, scale, slide, or extrude only the new geometry, you need to isolate it first.
The standard workarounds are imperfect:
- Checker Deselect depends on traversal order and rarely lands on exactly the new edges.
- Select Less strips the boundary, not the interior.
- Select Inverse then re-fixing the selection is a five-step dance.
The extra step shows up every time you cut a panel loop, add detail to a subdivision, or refine a topology pass.
Installation
- Download
subdivide_select_new.py - In Blender: Edit > Preferences > Add-ons > Install
- Select the downloaded file
- Enable Subdivide Select New in the list
Tutorial
By the end of this tutorial you will subdivide a region of Suzanne and have only the newly-created geometry selected, ready to scale or move without touching the original surface.
What You’ll Learn
- How to find Subdivide (Select New) in the Mesh menu, the right-click context menu, and via F3 search
- How the operator’s selection result differs from standard Subdivide
- How to use the redo panel to change any of the standard Subdivide parameters after the fact
Prerequisites
- Blender 4.0+
- Subdivide Select New addon installed and enabled
- Any mesh — the screenshots use Suzanne
Step 1: Set Up the Mesh
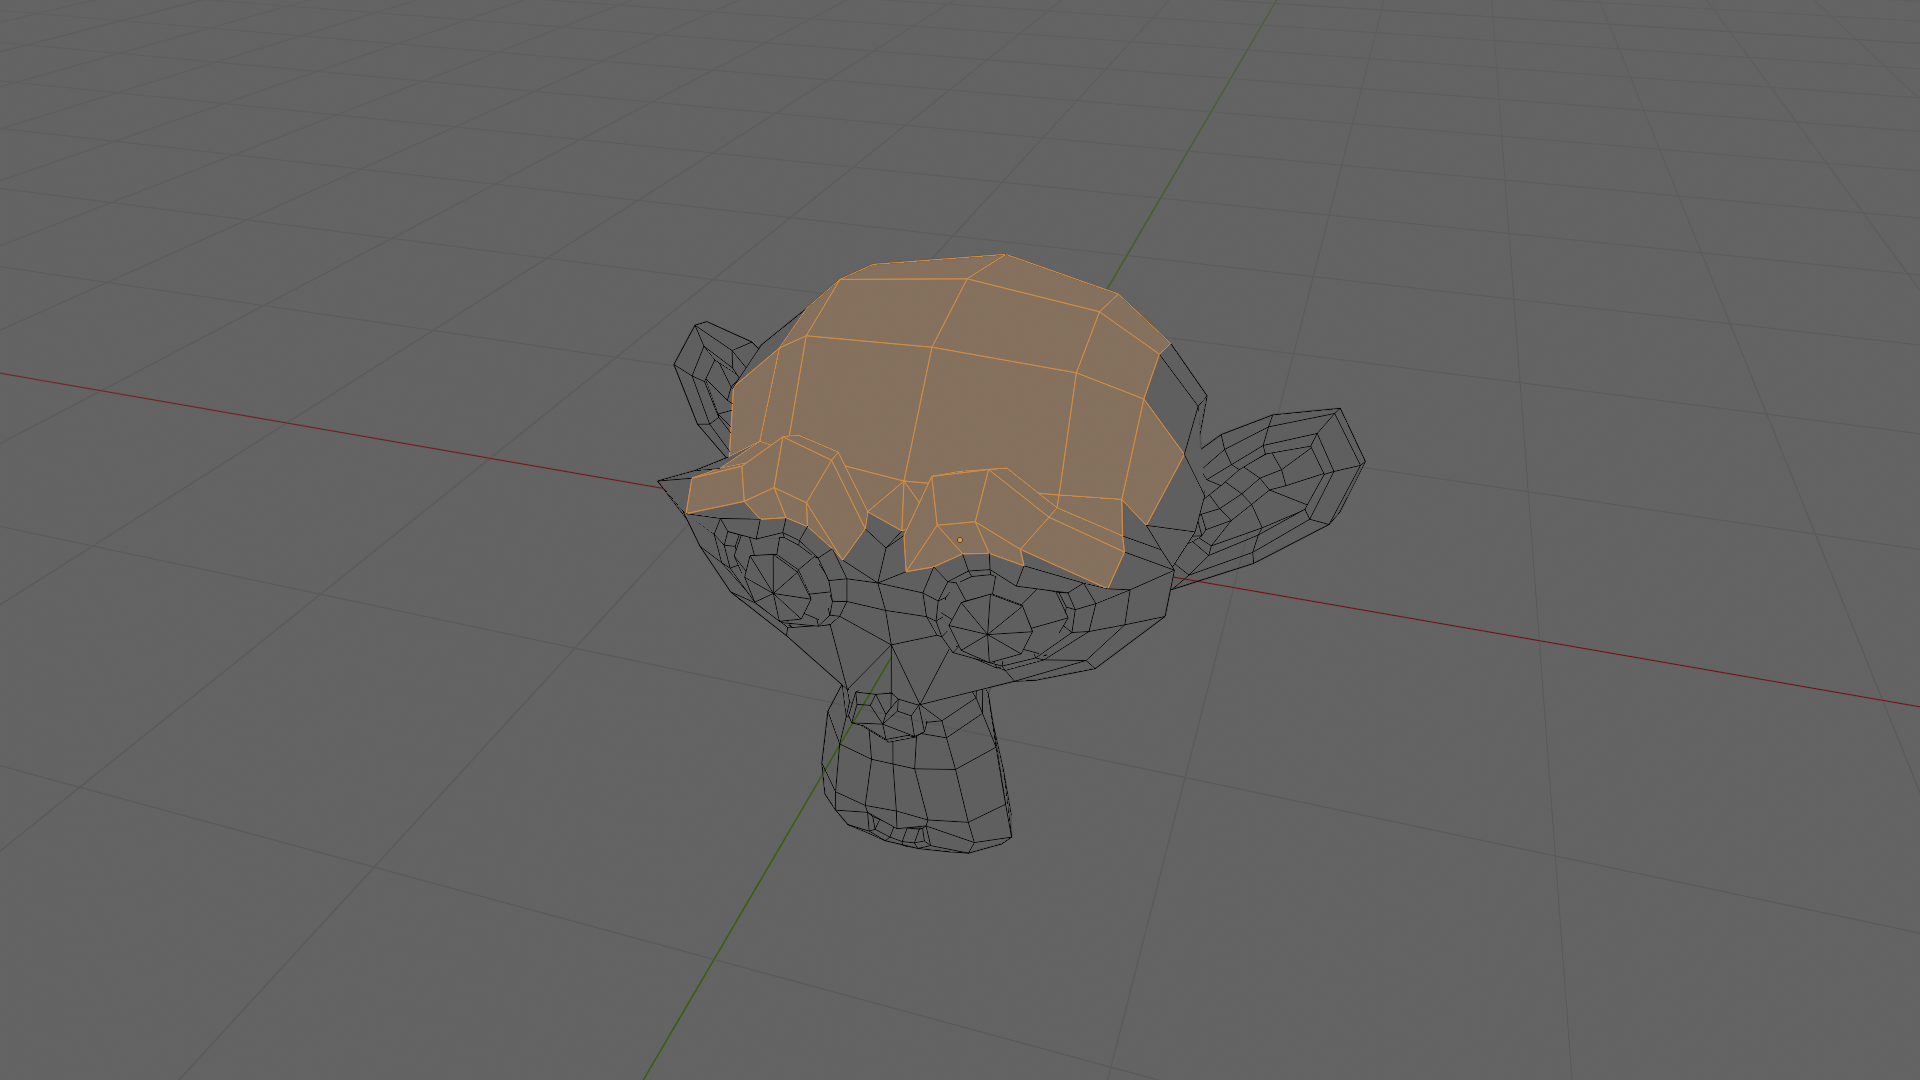
Open a fresh scene and add Suzanne: Add > Mesh > Monkey. Press Tab to enter Edit Mode, then press 3 (number row) to switch to Face Select.
Press Alt+A to deselect everything, then click a few faces on Suzanne — the screenshots use a small cluster on the forehead.
Checkpoint: A handful of faces are highlighted in orange, everything else is dark.
Step 2: See What Standard Subdivide Does
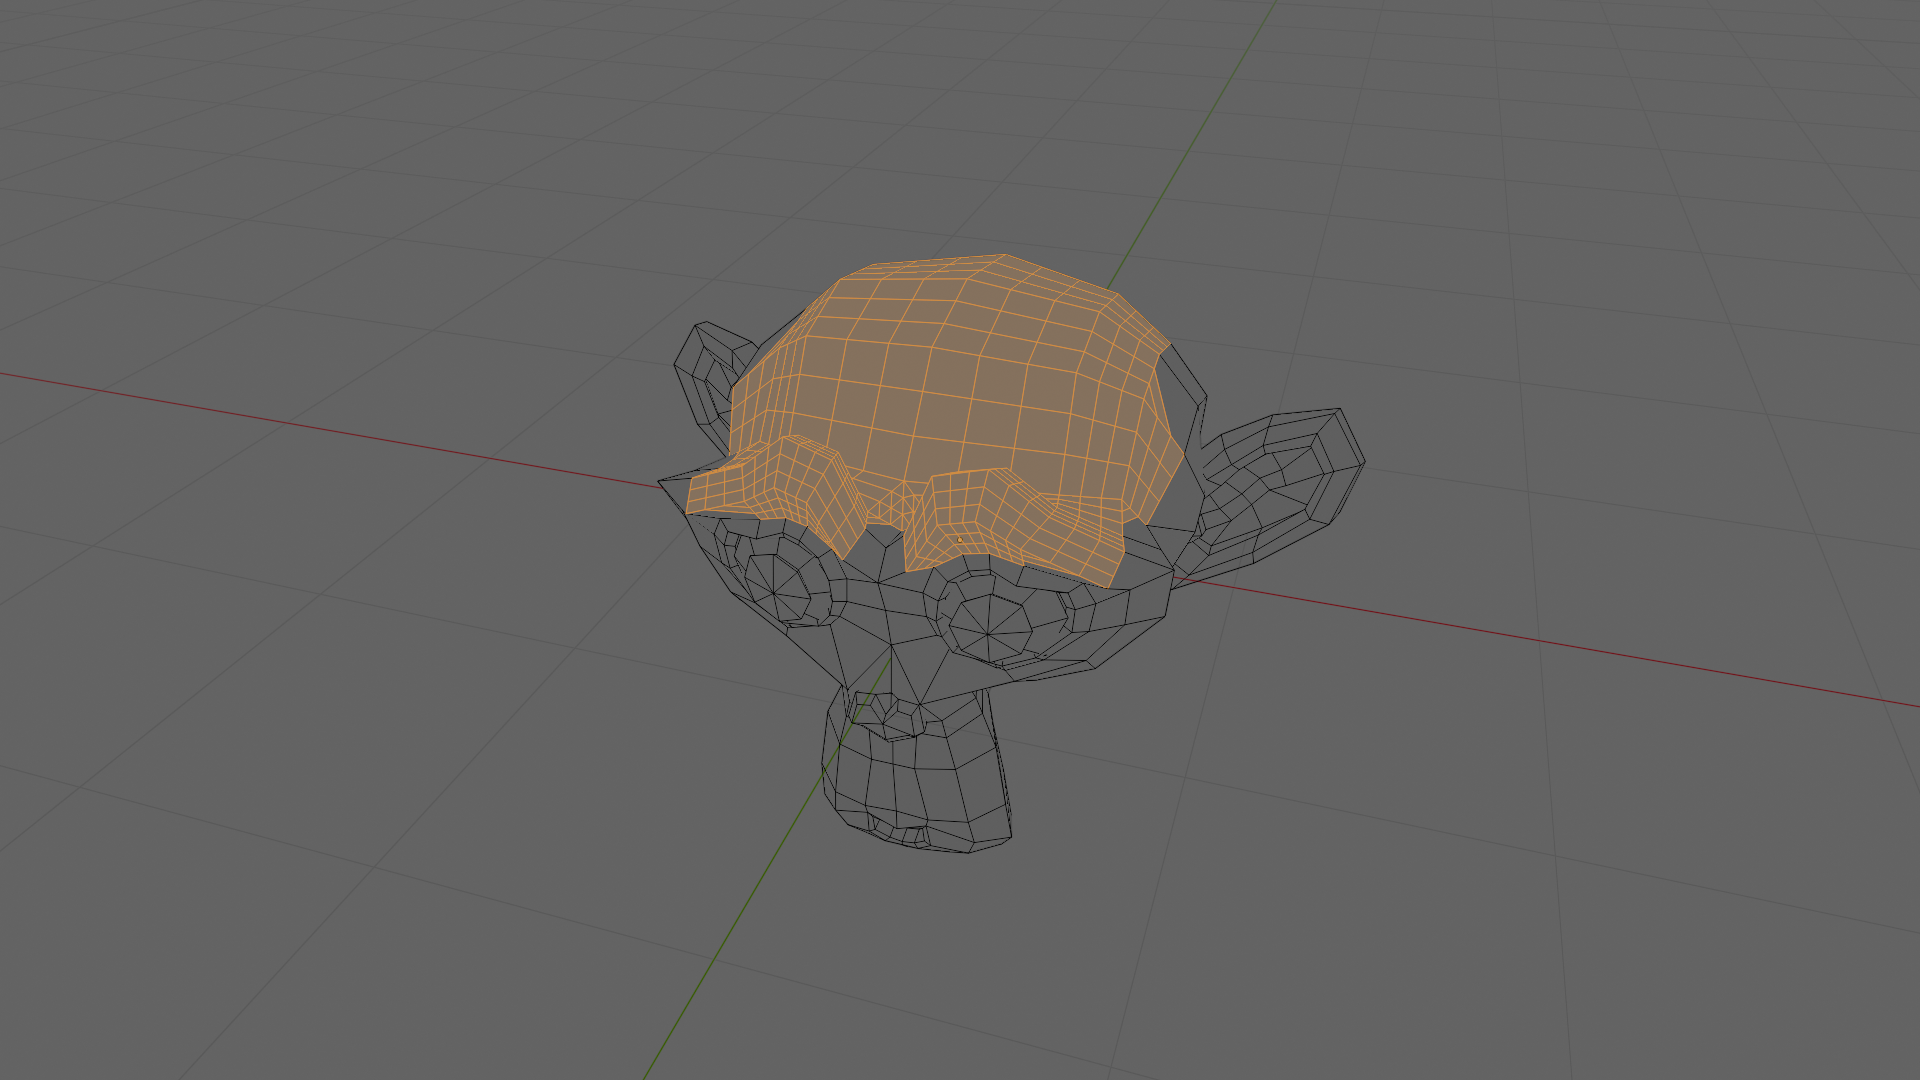
Right-click on the mesh to open the context menu and choose Subdivide. In the redo panel set Number of Cuts to 2 to make the new geometry easy to see. The faces split, but every original face stays selected along with the new midpoint vertices and inner edges. If your next operator is “scale only the new stuff”, there is nothing clean to act on.
Checkpoint: The selected region now has cut lines through it, but the entire region — old and new — is still highlighted.
Step 3: Run Subdivide (Select New)
Press Ctrl+Z to undo the standard Subdivide, then run the addon with the same face cluster still selected. There are three ways to invoke it:
- Mesh menu at the top of the viewport: Mesh > Subdivide (Select New)
- Right-click context menu in Edit Mode: scroll to Subdivide (Select New)
- F3 search: type “Subdivide (Select New)” and press Enter
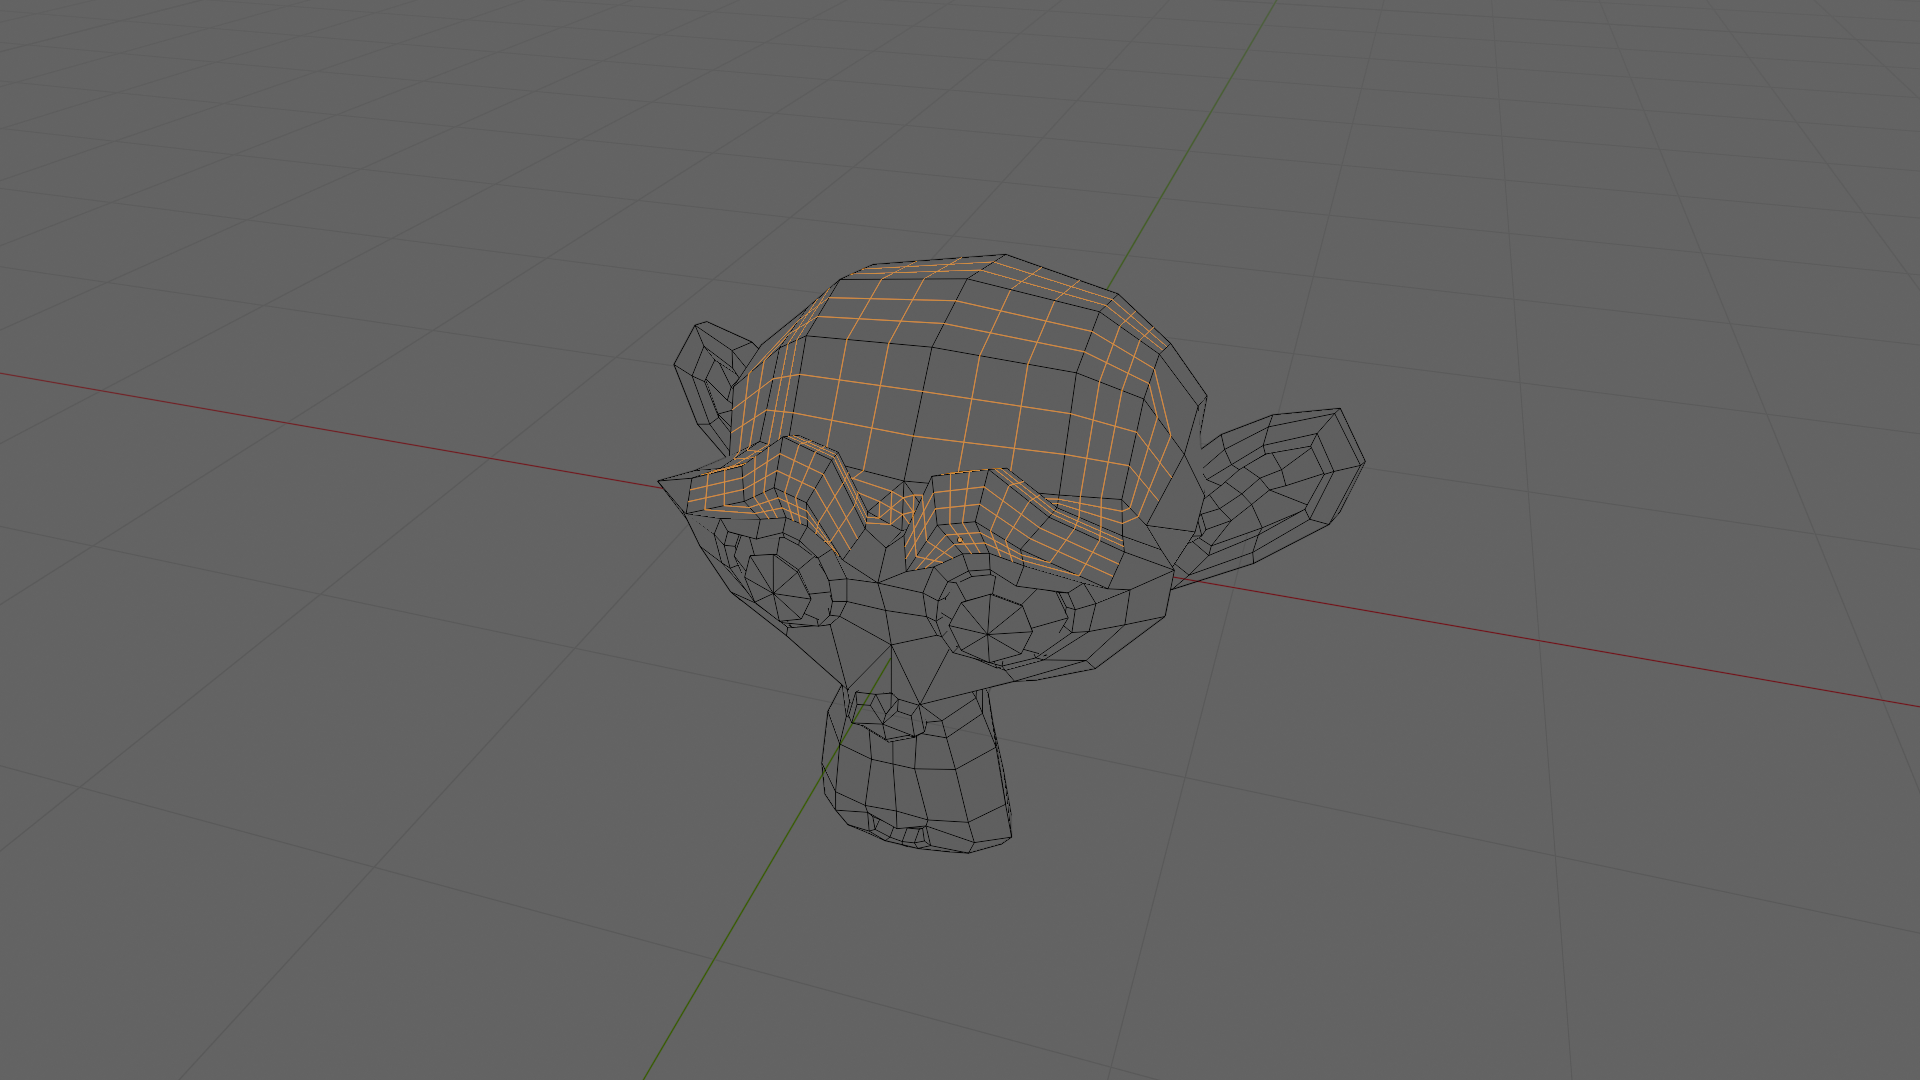
The operator runs Blender’s standard Subdivide, then deselects everything that was selected before, and selects only the vertices and edges that were just created. Set Number of Cuts to 2 in the redo panel to match the screenshot.
Checkpoint: The original face cluster is no longer highlighted. Only the new midpoint vertices and the new inner edges are selected — a thin grid of orange sitting inside the area you cut.
The status bar at the bottom of the screen shows a confirmation:
Subdivided: N new vertex(es), M new edge(s) selected.
Step 4: Adjust in the Redo Panel
The bottom-left of the viewport shows a collapsed Subdivide (Select New) panel. Click it open or press F9 to pop it up. The same parameter set as the standard Subdivide is exposed:
- Number of Cuts — how many subdivisions per original edge
- Smoothness — 0 keeps cuts on the original surface, higher values curve them toward a Catmull-Clark-style result
- Create N-Gons — when off, new faces are limited to triangles and quads
- Quad Corner Type — how quad corners subdivide (
Inner Vert,Path,Straight Cut,Fan) - Fractal — random displacement amount applied to new vertices
- Along Normal — bias the fractal displacement toward face normals (0 = any direction, 1 = along normal only)
- Random Seed — seed for the fractal randomness
Changing any of them re-runs the operator with the new values and re-selects only the new geometry. Bumping cuts to 2 or 3 gives you finer detail to act on without ever re-touching the original selection.
Step 5: Use the New Selection
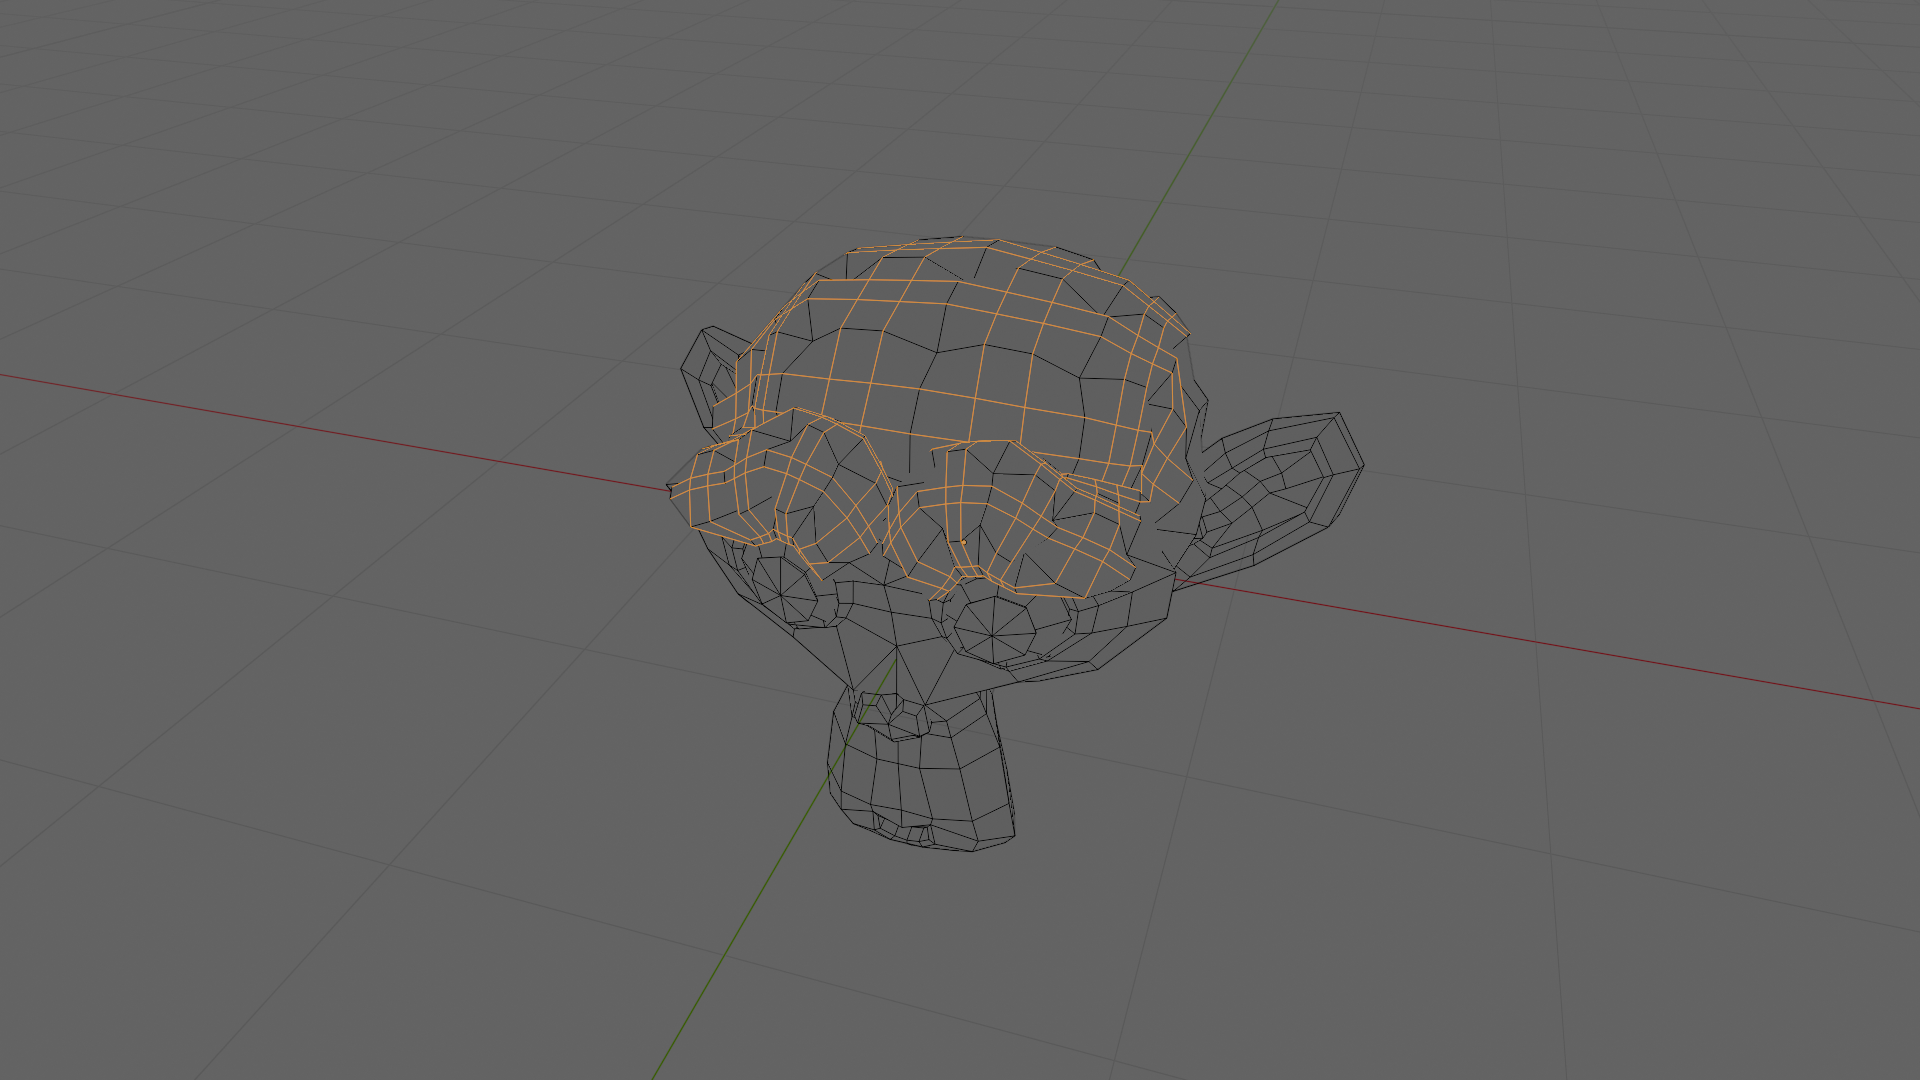
Because only the new geometry is selected, the next operator acts on it cleanly. As a quick demonstration, press Alt+S (Shrink/Fatten), type 0.1, and press Enter. This pushes only the new vertices outward along their normals, raising a small bump in the middle of the original face cluster.
This is the workflow Subdivide (Select New) is built for: cut detail in, then immediately bevel, slide, extrude, or fatten only the cuts. Common follow-ups include Bevel (Ctrl+B) for panel grooves and Shrink/Fatten (Alt+S) for raised pads or sunk dents.
Checkpoint: The new midpoint vertices have moved outward, creating a visible bulge inside the original face cluster. The original face boundary is still exactly where it started.
Result
You subdivided a region and acted on only the new geometry in two operators — Subdivide (Select New) then Alt+S 0.1 Enter. With standard Subdivide, the same result requires Subdivide → Checker Deselect (and pray it picks the right edges) → fix the selection by hand → then fatten.
Troubleshooting
| Symptom | Likely Cause | Fix |
|---|---|---|
| Subdivide (Select New) does not appear in the Mesh menu | Addon is not enabled | Edit > Preferences > Add-ons, search “Subdivide Select New”, check the box |
| Operator does nothing | Not in Edit Mode, or no mesh selection | Press Tab to enter Edit Mode and select at least one face, edge, or vertex region |
| Original geometry is still selected after running | Running standard Subdivide instead of Subdivide (Select New) | Use the Mesh menu entry or F3 search — the standard Subdivide entry is right next to it |
| Redo panel does not show Number of Cuts | A different operator ran after Subdivide (Select New) | Re-run Subdivide (Select New); the redo panel only reflects the most recent operator |
| Selection mode changes after running | Expected — selection is flushed across modes so the new geometry is visible whichever mode you are in | None |
Notes
- Selection mode is preserved. Running in Vertex, Edge, or Face select mode keeps you in that mode after the operator runs. The new geometry is selected and the selection is flushed across modes so it shows up correctly whichever mode you switch to next.
- Works on anything Subdivide accepts. Single faces, multi-face selections, edge loops, face rings — if standard Subdivide accepts the input, Subdivide (Select New) does too.
- Full undo support. Ctrl+Z reverses the operator in a single step.
- Smoothness > 1 is allowed. The soft maximum is 1.0 (subsurf-like), but values up to 1000 are accepted for extreme bulging effects, matching Blender’s own Subdivide.
Requirements
- Blender 4.0 or later