Selective Edge Split

This tutorial was auto-generated by Funkworks.
Split your panel gap edges without disturbing a single render sharp.
The Problem
Hard-surface models in Blender carry two kinds of sharp edges that look identical in the Edge Select overlay but mean completely different things. Some edges are marked sharp to control smooth shading — these define where the light breaks across your surface. Other edges mark physical panel gaps, the seam lines that need to be split into separate geometry before you add a Solidify modifier.
Blender’s Edge Split modifier cannot tell them apart. It operates globally: all sharp edges, or none. So if you want panel gap splits without destroying your render sharps, the workaround is to clear every sharp mark on the mesh, re-mark only the panel gap edges, apply the modifier, and then manually re-mark every render sharp you just erased. On a vehicle body with 80 render sharp loops, one panel gap adjustment means 100+ actions, every time, and your modifier stack position is gone.
This addon eliminates that cycle.
Installation
- Download
selective_edge_split.py - In Blender: Edit > Preferences > Add-ons > Install
- Select the downloaded file
- Enable Selective Edge Split in the list
Tutorial
By the end of this tutorial you will be able to tag specific edges as panel gaps, verify the count before committing, and apply a split that touches only those edges — leaving every render sharp exactly where it was.
What You’ll Learn
- How to tag panel gap edges using the Ctrl+E edge menu in Edit Mode
- How to read the live tagged-edge count in the N-panel before applying
- How to apply a scoped edge split and undo it in a single step
The Manual Workflow This Replaces
Without this addon:
- Write down which edges are render sharps (or try to remember them)
- Mesh > Clear Sharp — erase every sharp mark on the mesh
- Select only the panel gap edges, Ctrl+E → Mark Sharp
- Apply the Edge Split modifier
- Re-select all the render sharp edges — manually, one by one
- Ctrl+E → Mark Sharp to restore them
Two to five minutes per panel gap adjustment, and you lose your modifier stack position every time. The addon replaces all of that with three clicks.
Step 1: Confirm the Addon Is Installed
Open Edit > Preferences > Add-ons and search for Selective Edge Split. The checkbox next to it should be enabled.
Checkpoint: The addon name appears in the list and is checked.
Step 2: Select Your Mesh and Enter Edit Mode
Click your mesh object in the viewport so it becomes the active object (orange outline). Then press Tab to enter Edit Mode, or select Edit Mode from the mode dropdown in the top-left corner of the viewport.
Checkpoint: The viewport header shows Edit Mode. Your mesh is displayed with vertices, edges, and faces visible.
Step 3: Switch to Edge Select Mode
In Edit Mode, press 2 (number row, not numpad) to enter Edge Select mode, or click the edge icon in the header toolbar (the icon that looks like a line segment, between the vertex dot and the face square).
In Edge Select mode, hovering over edges highlights them individually and clicking selects a single edge. Shift+click adds to the selection.
Checkpoint: The viewport header shows the Edge Select icon active. Hovering over the mesh highlights individual edges, not faces.
Step 4: Select Your Panel Gap Edges
First, clear any existing selection by pressing Alt+A (deselect all). Nothing should be highlighted.
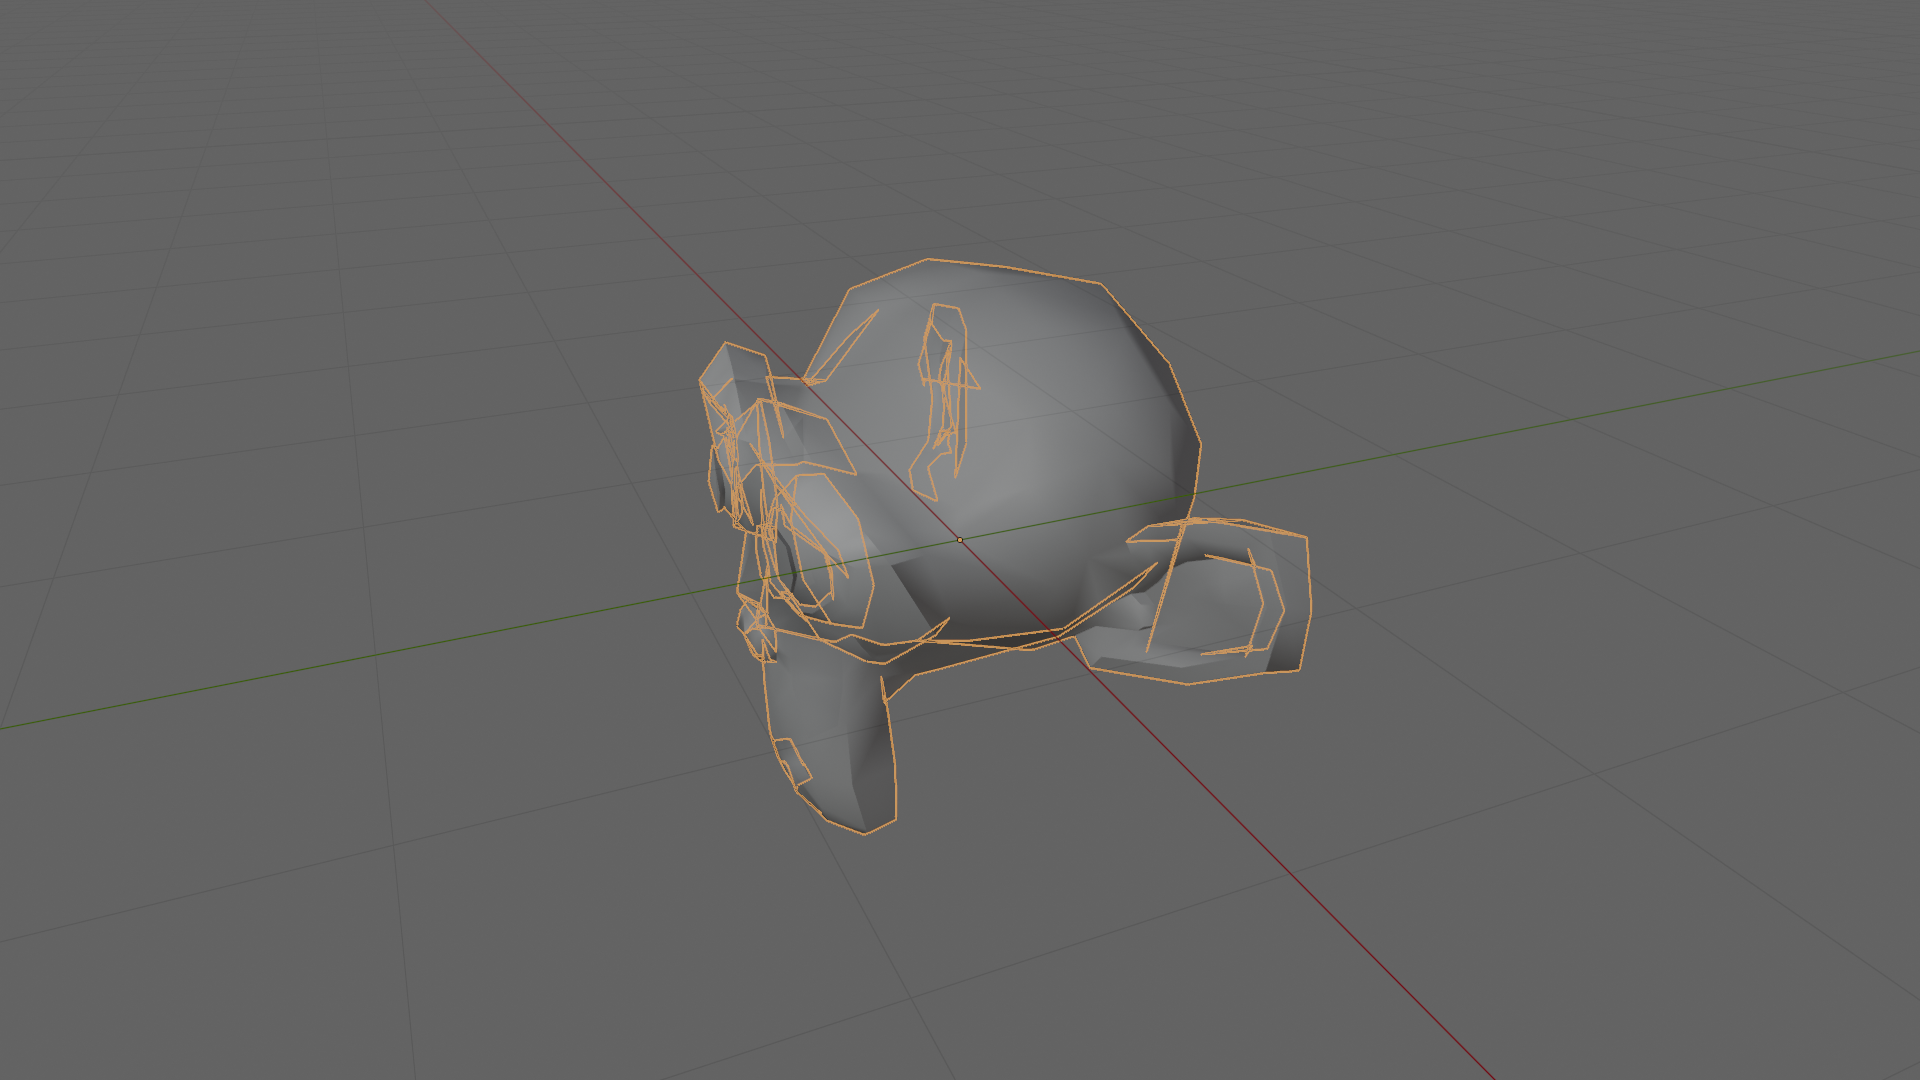
Then click the first panel gap edge to select it — it turns orange. Hold Shift and click to add more edges to the selection. To select an edge loop (a ring of connected edges that runs all the way around the mesh), hold Alt and click one edge in the loop.
Do not select the edges you use for smooth shading — those render sharps should stay untouched. Only select the panel gap edges.
Checkpoint: The panel gap edges are highlighted in orange. All render sharp edges remain unselected.
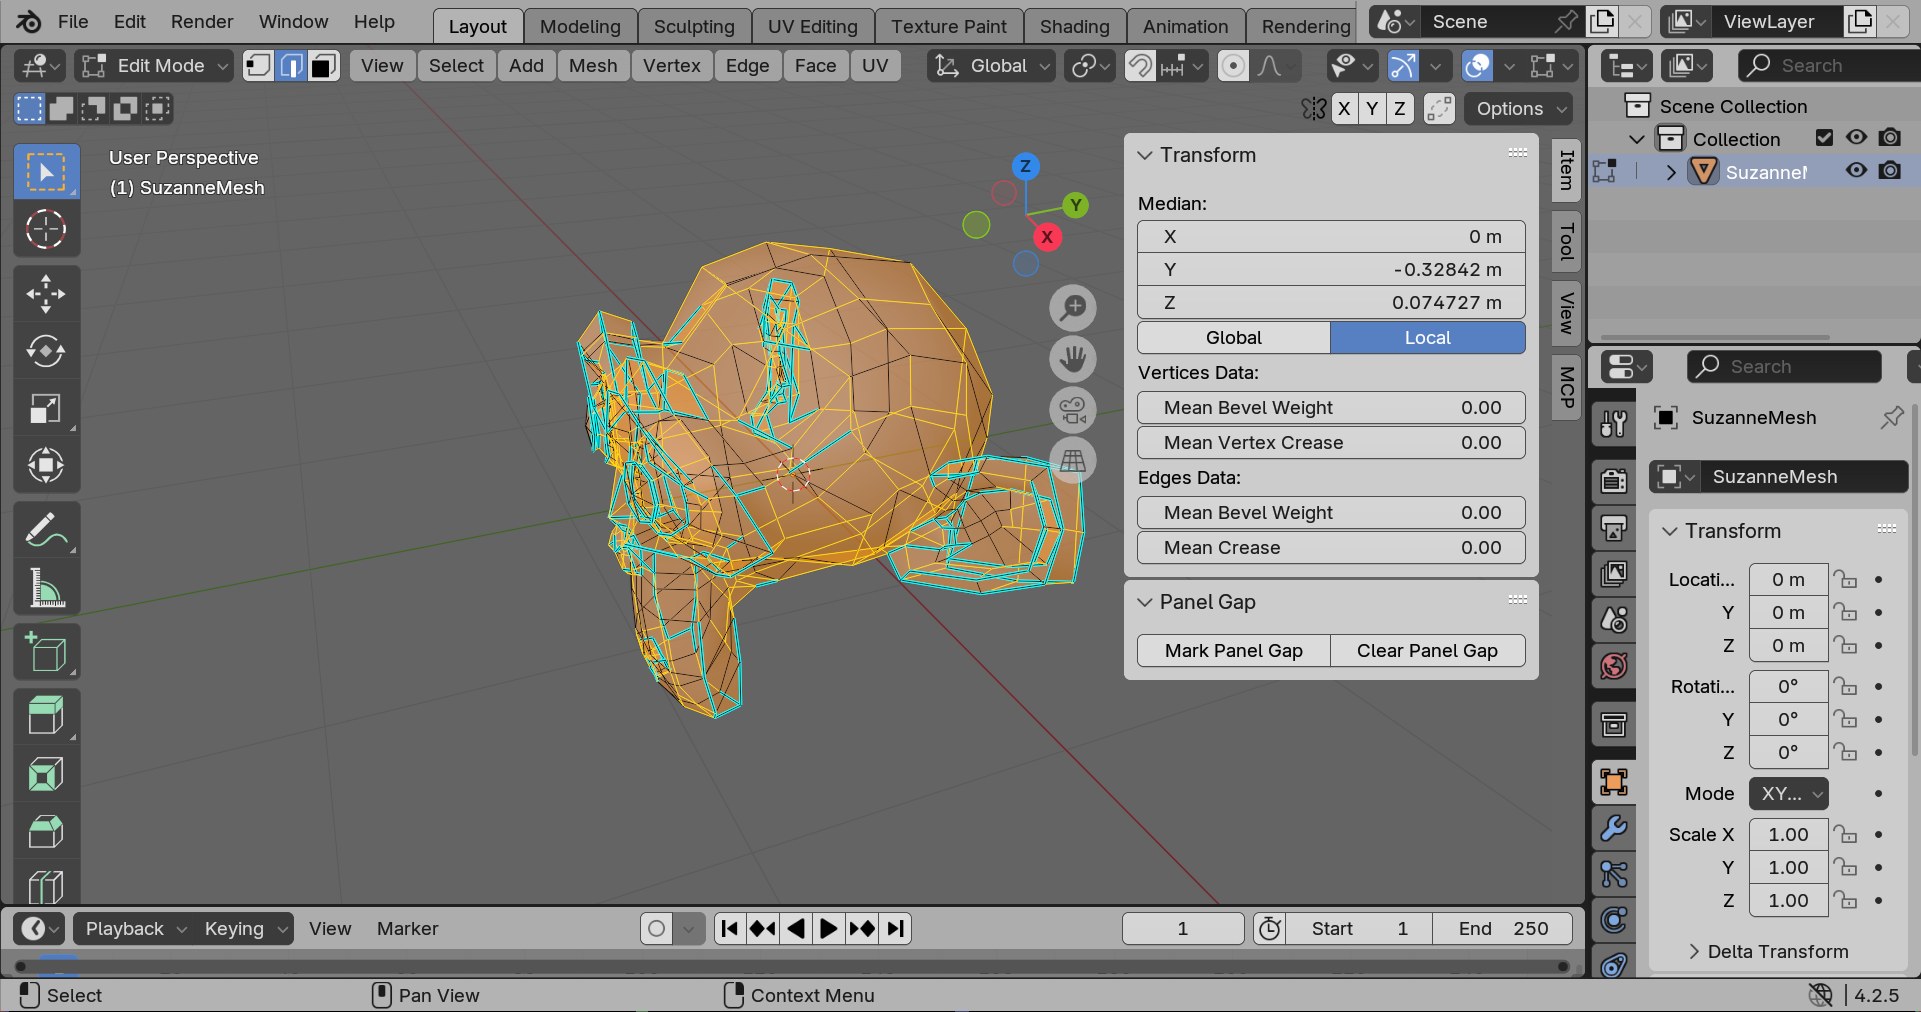
Step 5: Mark the Selection as Panel Gap
With your panel gap edges selected, press Ctrl+E to open the edge context menu. Scroll to the bottom of the menu — below Mark Sharp and Clear Sharp you will find two new entries added by the addon: Mark Panel Gap and Clear Panel Gap.
Click Mark Panel Gap.
The menu closes and Blender’s status bar (bottom of the screen) shows a confirmation:
Marked N edge(s) as panel gap.
This stores a hidden boolean attribute called panel_gap on those edges. The tag
survives Edit Mode / Object Mode transitions and file saves. Your sharp marks are
completely unaffected.
Checkpoint: The status bar shows the marked edge count. No visual change to the mesh is expected — the tag is invisible in the viewport, but it’s there.
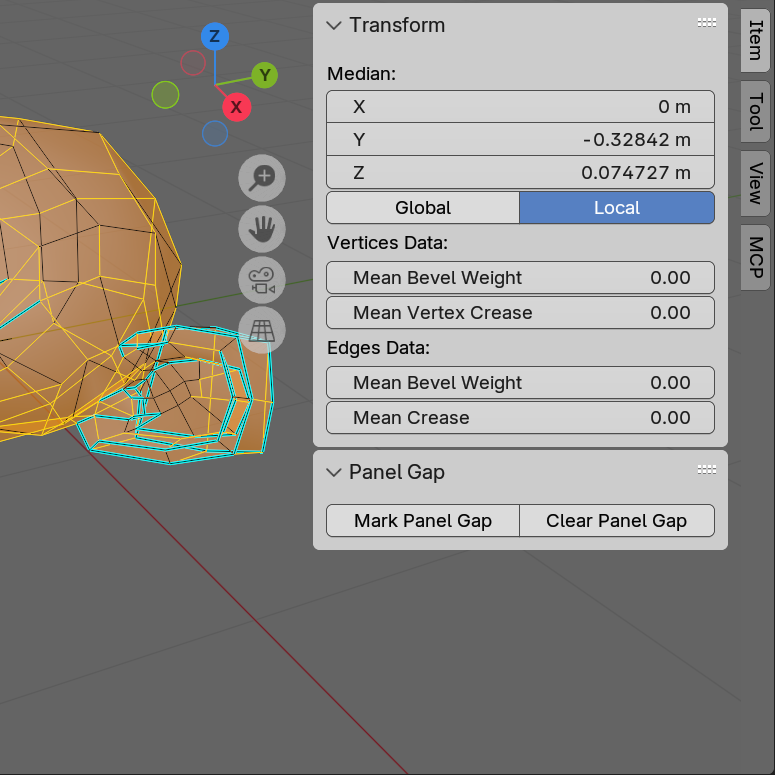
Step 6: The N-Panel Alternative
The same Mark and Clear operators are also available in the N-panel — the side panel that appears when you press N in the viewport.
With the N-panel open, click the Item tab. Scroll down until you see a section labeled Panel Gap with two buttons side by side: Mark Panel Gap and Clear Panel Gap. These work identically to the Ctrl+E menu entries.
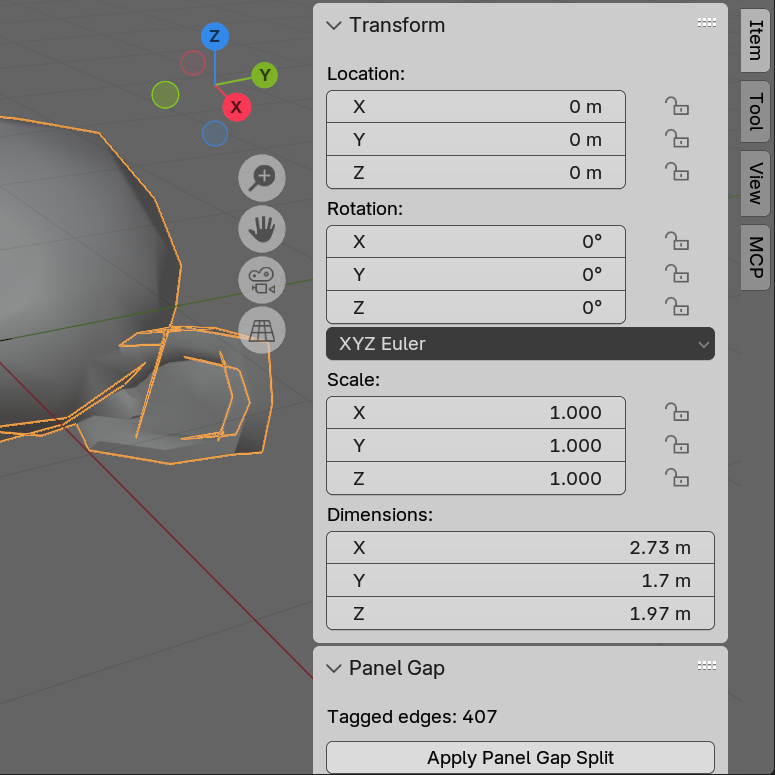
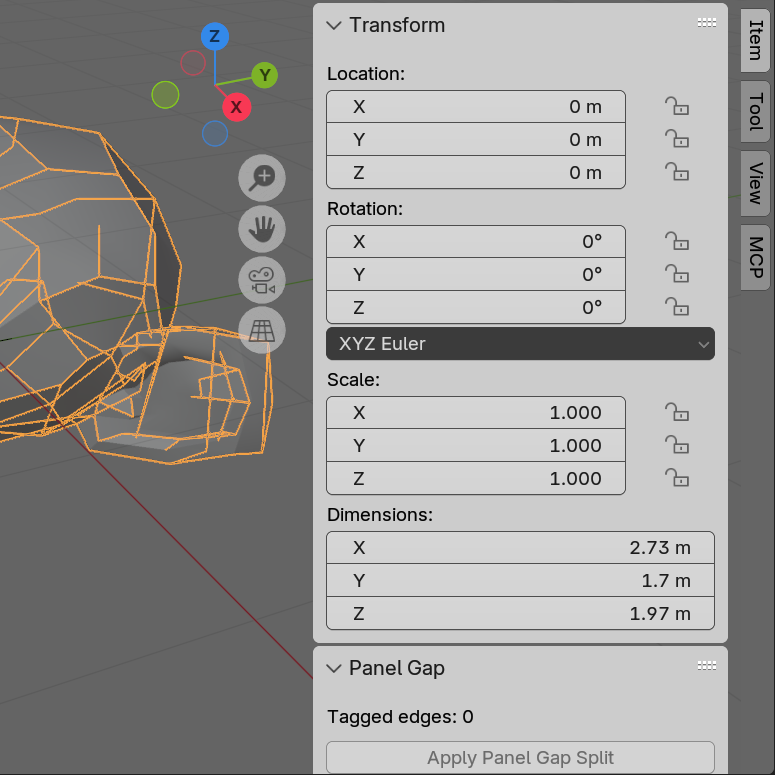
Step 7: Verify the Tagged Edge Count in Object Mode
Press Tab to return to Object Mode.
Open the N-panel (N key) and click the Item tab. Scroll down to the Panel Gap section. In Object Mode this section shows a live count of tagged edges on the active mesh:
Panel Gap
  Tagged edges: 4
  [Apply Panel Gap Split]
The count should match the number of edges you tagged. If the count is 0, the Apply Panel Gap Split button will be greyed out — go back to Edit Mode and re-run Mark Panel Gap on the correct edges.
Checkpoint: The tagged edge count is greater than 0 and the Apply Panel Gap Split button is active (not greyed out).
Step 8: Apply the Panel Gap Split
Click Apply Panel Gap Split.
The addon reads the panel_gap attribute, calls Blender’s internal edge split
operation on only those edges, then removes the tag attribute — since the topology
has changed, the old edge indices no longer mean anything.
The status bar shows: Split N panel gap edge(s).
Checkpoint: The Tagged edges count now shows 0 and the Apply Panel Gap Split button is greyed out. The split has been applied.
Step 9: Verify the Result
Press Tab to enter Edit Mode. Press 1 (number row) to switch to Vertex Select mode. Press A to select all vertices.
Look at the area where your panel gap edges were. Each former panel gap edge is now a boundary edge — it belongs to only one face instead of two, creating a physical separation in the mesh geometry. In Vertex Select mode you will see doubled vertices along those edges: the split operation duplicated each vertex shared by the split edges.
Your render sharp edges elsewhere in the mesh are identical to how you left them. If you have a Solidify modifier in the stack, it re-evaluates on the new topology and the panel gap is now visible as a physical gap in the solidified surface.
Undo: Ctrl+Z restores the original mesh topology and the panel_gap attribute
in a single step.
Result
You applied a scoped edge split that touched exactly the edges you tagged and nothing else. Your render sharps are intact. Your modifier stack is intact. No manual re-marking required.
Troubleshooting
| Symptom | Likely Cause | Fix |
|---|---|---|
| Mark Panel Gap is greyed out | Not in Edit Mode, or no mesh object active | Press Tab to enter Edit Mode with a mesh object selected |
| Marked edges show count 0 | No edges were selected when the operator ran | Select at least one edge before running Mark Panel Gap |
| Apply Panel Gap Split is greyed out | No edges are tagged (panel_gap count = 0), or not in Object Mode, or active object is not a mesh |
Verify tagged edge count in N-panel; make sure you are in Object Mode |
| Tagged edges count shows 0 after marking | Mark Panel Gap was run with no edges selected | Re-enter Edit Mode, select the panel gap edges, run Mark Panel Gap again |
| Apply button goes grey immediately after clicking | Split was applied; attribute is removed on apply | This is correct behaviour — the split is done |
| Running Apply twice in a row | The attribute is removed on first apply; second click finds nothing | No action needed — the button is greyed out on second click, no crash or double-split |
| Sharp marks on untagged edges changed | They shouldn’t — re-check by looking at the Edge Select overlay | If you notice a change, Ctrl+Z and report the issue |
| Solidify modifier shows no gap after apply | Solidify thickness may be too small to see, or the edges were not actually split | Increase Solidify thickness; verify the tagged edge count was > 0 before applying |
| Clear Panel Gap has no effect | The selected edges were never tagged, or the panel_gap attribute doesn’t exist |
No-op is expected if nothing was tagged on those edges |
Notes
- Destructive by design. Apply Panel Gap Split changes mesh topology and cannot be undone except with Ctrl+Z. There is no live-preview mode. This is intentional — the Geometry Nodes alternative carries confirmed crash bugs and breaks backward compatibility on every minor version.
- One object at a time. The apply operator acts on the active object only. For multi-object panel gap workflows, run it once per object.
- Modifier stack is safe. Solidify, Bevel, Armature, and other modifiers are unaffected and re-evaluate on the new topology after apply.
- Armature rigs. New vertices inherit weights averaged from the original edge’s two endpoints. Correct for most rigs; highly precise deformation targets may need a manual weight touch-up in Weight Paint mode.
- Repeated tagging is safe. Re-running Mark Panel Gap on already-tagged edges has no effect — the tag is already True and stays True.
- Tags survive file save. The
panel_gapattribute is stored as a standard Blender mesh attribute and is saved with the .blend file.
Requirements
- Blender 4.0 or later