Bevel Modifier Presets
This tutorial was auto-generated by Funkworks.
Save the parameter set of a Bevel modifier as a named preset, then recall it on a new modifier in any .blend file.
The Problem
The Bevel modifier has no built-in preset system. Hard-surface modelers tune the same parameter combinations repeatedly across projects — Offset Type, Width, Segments, Limit Method, Angle, Profile, Shading flags — and have no way to save those tuned setups for reuse in another file.
The native escape hatches all leak. Copy-paste-modifier moves a Bevel between objects in the same file, but not across files. Append-from-an-old-.blend pulls the modifier in along with the object that carries it, which is too coarse. Writing the values down works exactly once.
Installation
- Download
bevel_presets.py - In Blender: Edit > Preferences > Add-ons > Install
- Select the downloaded file
- Enable Bevel Modifier Presets in the list
Tutorial
By the end of this tutorial you will save a tuned Bevel modifier as a named preset, reset the modifier, and recall the preset with one click.
What You’ll Learn
- Where the Bevel Presets panel lives in the Properties Editor
- How to save the active Bevel modifier’s parameters as a named preset
- How to recall a saved preset onto any Bevel modifier in any .blend file
- How to delete a preset you no longer want
Prerequisites
- Blender 4.2 LTS
- Bevel Modifier Presets addon installed and enabled
- Any mesh — the screenshots use the default cube
Step 1: Add a Bevel Modifier and Tune It
Select the default cube. In the Properties Editor, click the wrench icon to open the Modifier Properties tab. Click Add Modifier > Generate > Bevel.
Tune the modifier to something you’d want to reuse. The screenshots use:
- Width Type: Offset
- Amount: 0.2 m
- Segments: 4
- Limit Method: Angle, Angle: 45°
- Profile: 0.7
- Shading > Harden Normals: on
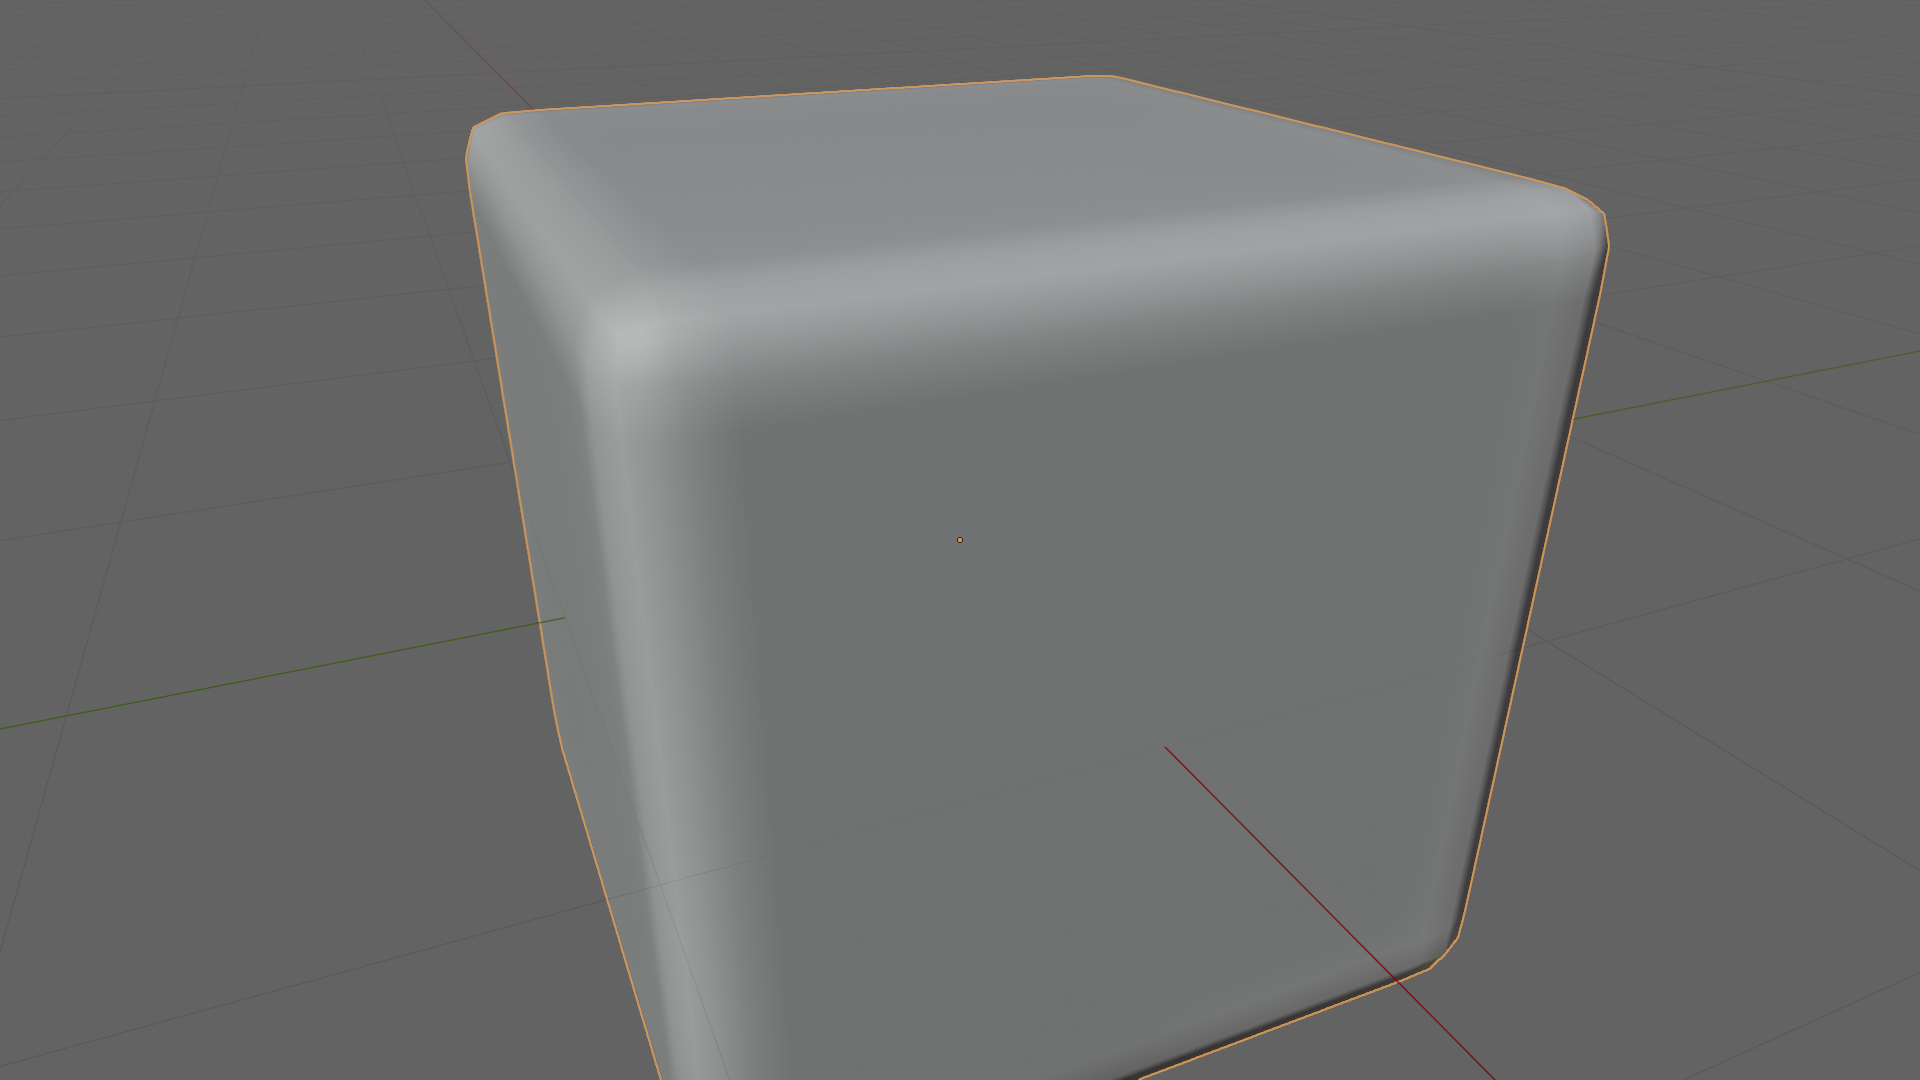
Checkpoint: The cube has chamfered corners in the viewport. The Bevel modifier sits in the modifier stack with the values you set.
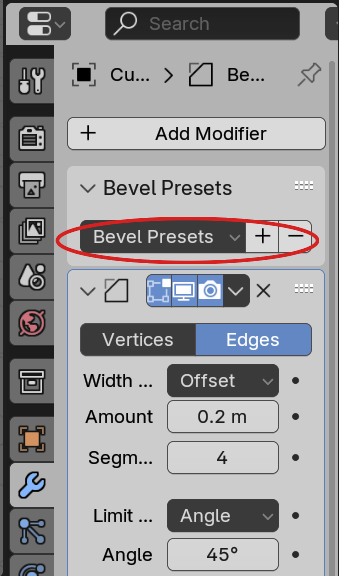
Step 2: Open the Bevel Presets Panel
Above the Bevel modifier sub-panel, find Bevel Presets. The panel is collapsed by default — click the chevron to expand it. Inside are three controls:
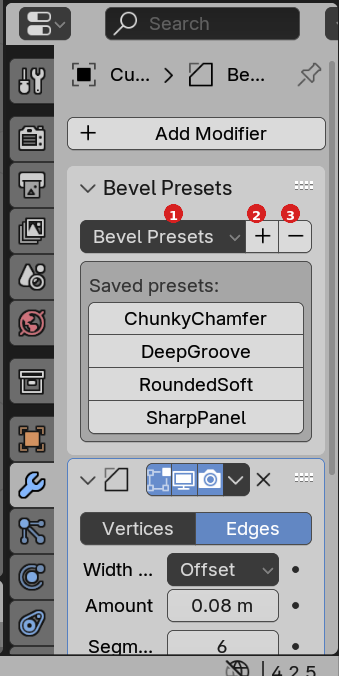
- (1) the preset dropdown, listing every saved preset
- (2) the [+] button — saves the current Bevel modifier’s parameters as a new named preset
- (3) the [−] button — deletes the currently selected preset
Checkpoint: The Bevel Presets panel header now points down (
v) and the dropdown plus add/remove buttons are visible.
Step 3: Save Your First Preset
Click the [+] button. A small dialog pops up with a Name field. Type a
descriptive name — the screenshots use ChunkyChamfer. Press OK.
The preset is written to
scripts/presets/bevel_modifier/ChunkyChamfer.py under your Blender user
config directory. The dropdown now lists ChunkyChamfer.
Checkpoint: The dropdown button next to [+] now shows
ChunkyChamfer(or whatever name you used) as the active selection.
Step 4: Test the Roundtrip
Change a few values on the Bevel modifier — bump Amount to 0.5, drop Segments to 1, toggle Harden Normals off. The cube’s corners change in the viewport.
Now click the preset dropdown and pick ChunkyChamfer. All 22 captured Bevel
properties snap back to the saved values in a single step. The cube’s chamfered
corners return.
Checkpoint: The Bevel modifier’s parameters in the Properties panel match what you originally saved. The viewport mirrors the saved bevel.
Step 5: Build a Library and Use It in Another .blend
Save a few more presets over time — sharp panel edges, soft fillets, deep grooves — and the dropdown accumulates them.
Open a new .blend file. Add any mesh, give it a Bevel modifier, and expand Bevel Presets. Every preset in the dropdown is still there — pick one and the new modifier inherits all 22 properties at once.
Presets are user-config-scoped, so they persist across .blend files and across
Blender restarts. Sharing a preset with a teammate means copying the .py
file from scripts/presets/bevel_modifier/ — the same model as Render presets.
Result
You saved a hard-tuned Bevel modifier once and recalled it on a fresh modifier in two clicks. Compare against the native workflow: open the old .blend, find the object, copy the modifier, paste onto the new object, then either work in the same file or append the whole donor object.
Troubleshooting
| Symptom | Likely Cause | Fix |
|---|---|---|
| Bevel Presets panel does not appear | Addon not enabled, or active modifier is not a Bevel | Edit > Preferences > Add-ons, enable Bevel Modifier Presets; make sure the Bevel modifier is the active one in the stack |
| [+] button is greyed out | No Bevel modifier on the active object | Add a Bevel modifier first; the operator polls for an active Bevel |
| Preset applies but Custom Profile curve does not match | Custom Profile control points are not stored in the preset by design | Use Blender’s built-in Save Profile As widget on the Custom Profile section to persist curve points separately |
| Preset name with spaces becomes one with underscores in the dropdown | Blender’s preset save sanitises filenames via bpy.path.clean_name — spaces and most symbols become _ |
Expected behaviour; use the sanitised name when picking from the dropdown |
| Saved preset does not appear in another Blender install | Preset directory is per-install — portable installs and side-by-side Blender versions each have their own | Copy the .py file from scripts/presets/bevel_modifier/ in the source install to the same path in the target install |
Notes
- Custom Profile curve points are not stored in the preset. The preset records
profile_type(Superellipse vs Custom) and theprofilevalue, but not the custom-curve control points. Blender’s existing Save Profile As widget in the Custom Profile section handles curve persistence. - One Bevel modifier at a time. The save and load operators act on the active modifier in the Properties panel (
context.active_object.modifiers.active). To preset-load several Bevels on the same object, select each in turn and load. - Presets travel as single files. Each preset is a
.pyfile inscripts/presets/bevel_modifier/. Share by copying that file into the same directory on another machine. - Built on Blender’s own preset machinery. Uses
bl_operators.presets.AddPresetBaseandMenu.draw_preset— the same infrastructure as Render Properties and Cycles presets.
Requirements
- Blender 4.2 LTS (validated baseline)